Contents
Moving a Terminal

How to create a Site
In order to create any Areas/Terminals, a Site needs to be created first. When first logging in to the portal, you will be on the Sites page, showing New Site button and a map, indicating where all created sites are located.

To create a new site, click on ‘New Site’ button
Enter Site details in relevant fields. Site name is mandatory field and needs to be minimum 3 characters long. Address can be entered manually or via postcode lookup.
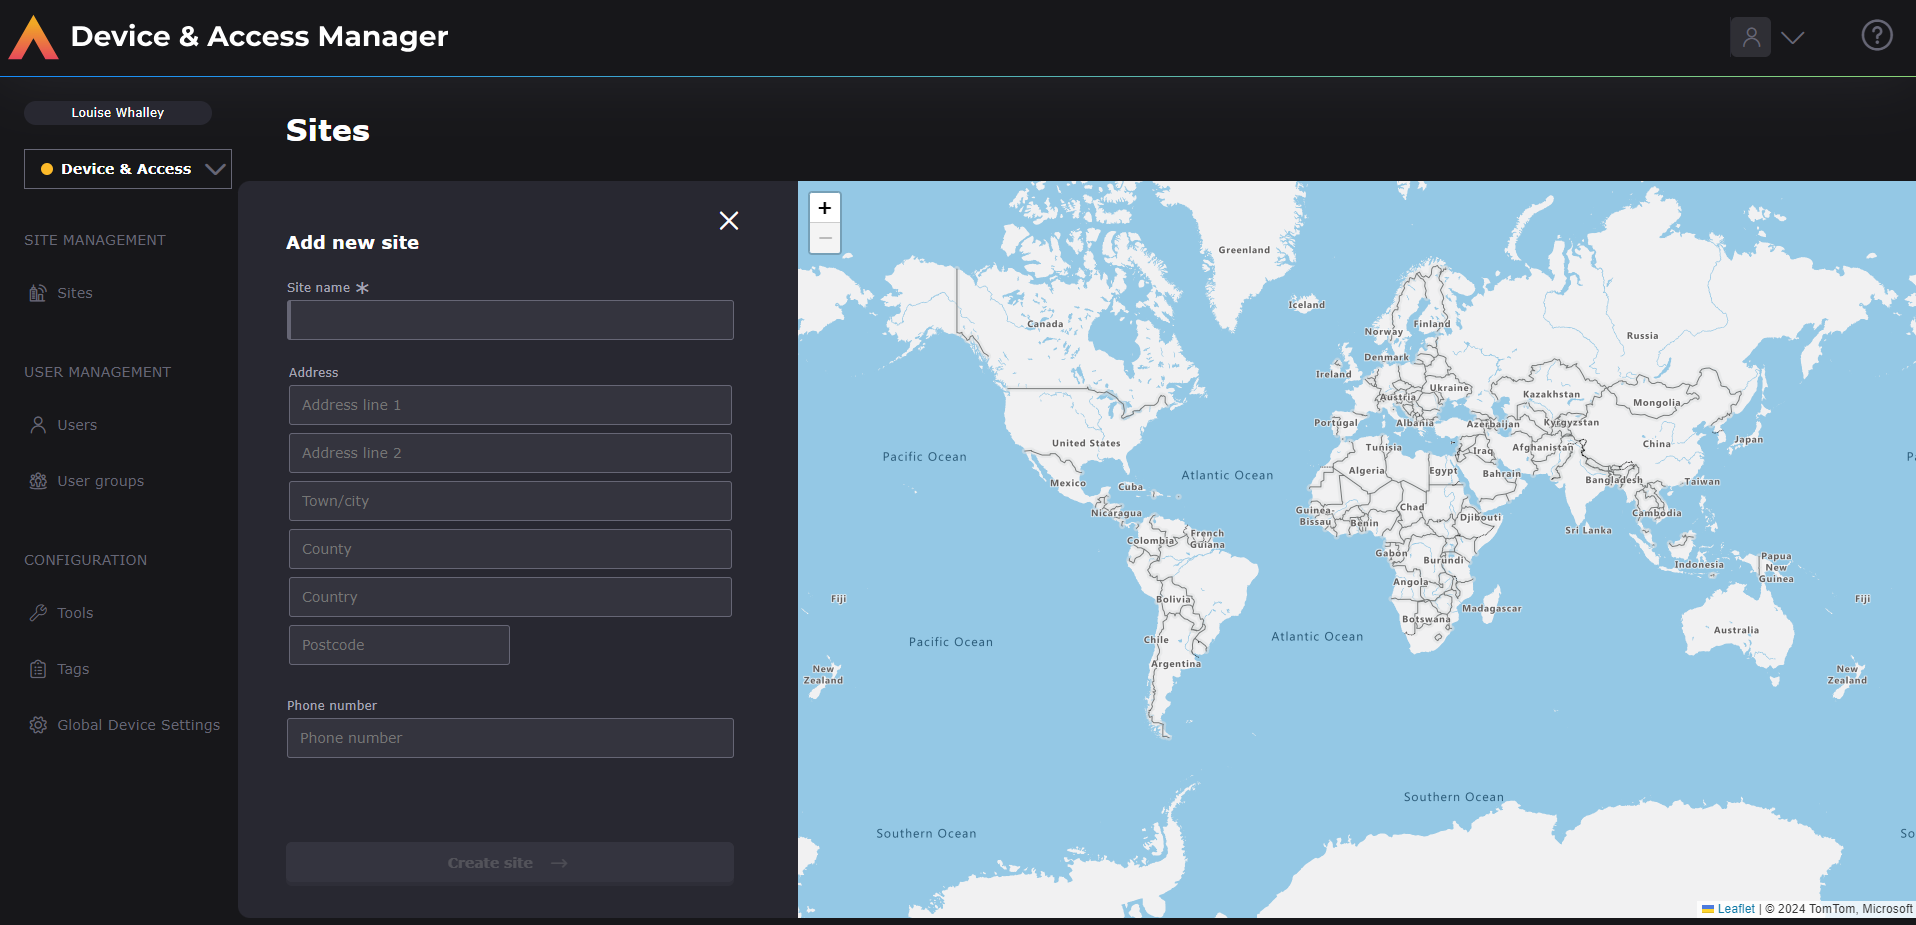
Click on ‘Create Site’ button to have Site visible in Sites list

When Site is created, it will automatically take you into the Areas screen, from which you can create a new Area.

How to create an Area
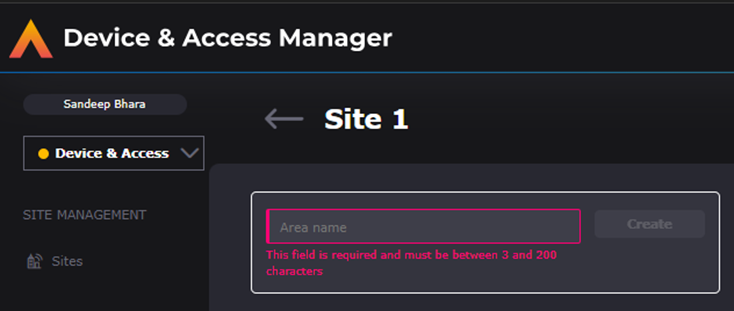
Following on from previous steps, you will be able to create an area, within the Site. In order to do this, click on the ‘New Area’ button.

This will provide field to enter Area Name, which must be minimum 3 characters.
Enter Area Name and click on ‘Create’ button
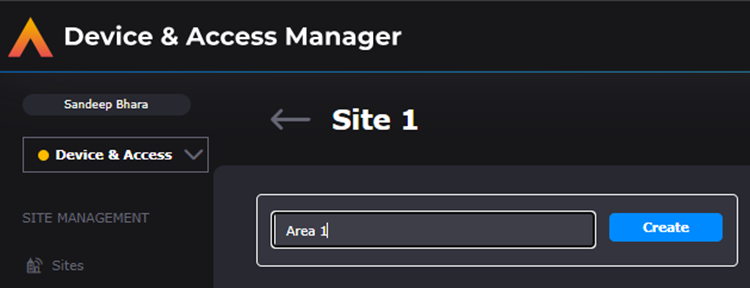
This will then create Area card and the ability to create a new Terminal.
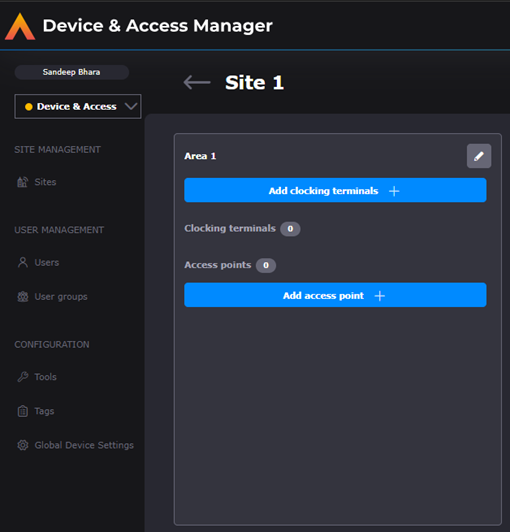
How to create a Terminal
From within the Area card created, click on ‘Add Clocking Terminal’ button
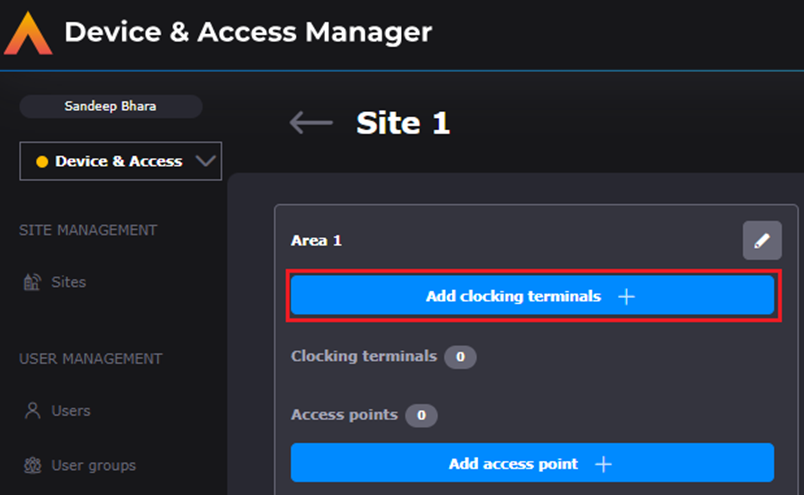
This will allow you to add a Terminal name, which must be minimum 3 characters.
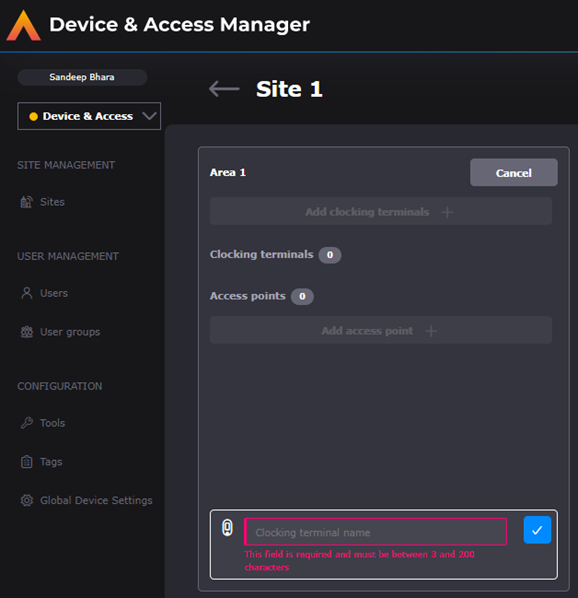

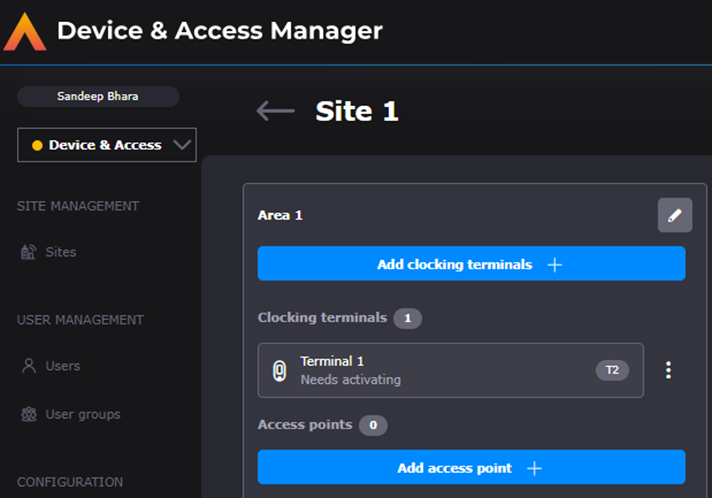
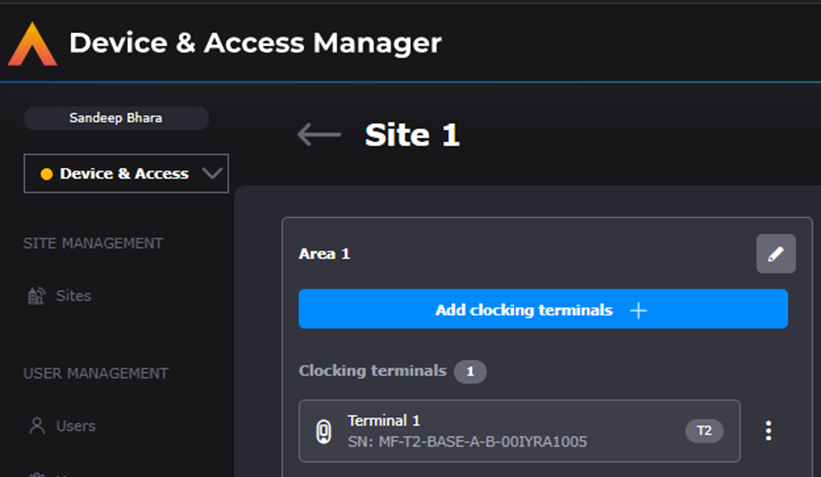
Click on the ‘tick’ button to confirm name and for Terminal to be saved within the Area. The Terminal will appear and the Clocking Terminal count will increase. As more Terminals are added/removed from the Area, this count will increase/decrease.

The Terminal will be visible in the Area, but will have the words ‘Needs Activating’ under Terminal Name.
Activating a Terminal
The Terminal will be in a status of ‘Needs Activating’ when it is first created. In order to use the Terminal, it will need to be activated. In order to activate it, you will need the Engineer Pin from the Settings panel and enter it into the Terminal.

Once the pin has been entered onto the Terminal, it will go through setup process. Once this has been completed on the Terminal, the portal will show the device as being active, by showing the serial number of the Terminal under the Terminal name.
Deactivating a Terminal and moving Site/Area
There may be occasions when a Terminal may need to be reallocated to a different Area within a Site or a different Site altogether. In these instances the Terminal will need to be deactivated and then reallocated.
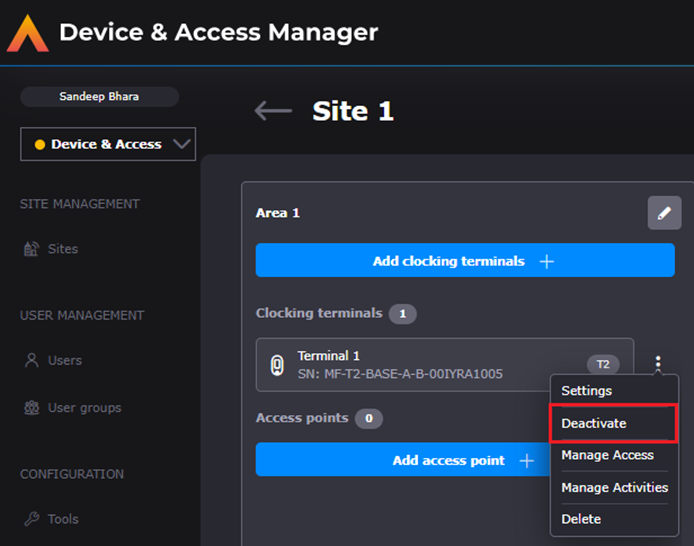
To deactivate a device, click on the Terminal menu and select ‘Deactivate’
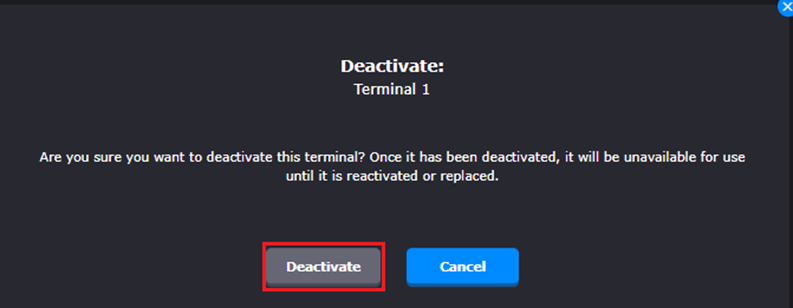
To confirm deactivation, click on the ‘Deactivate’ button within the Deactivate modal –
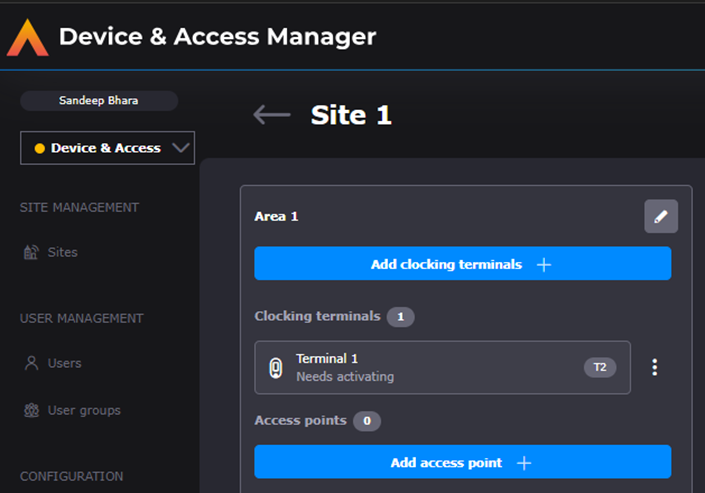
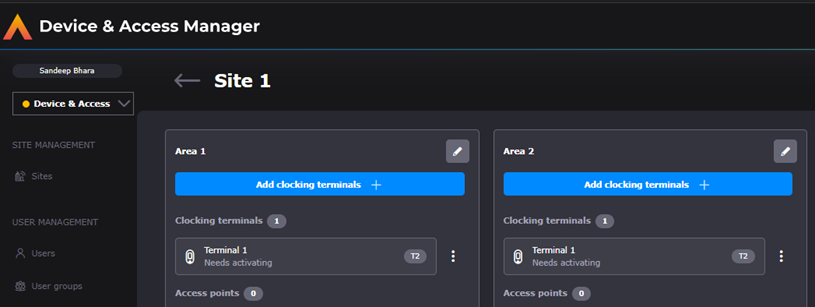
This will then set the Terminal back to ‘Needs Activating’
Allocating Terminal to a different Area in same Site
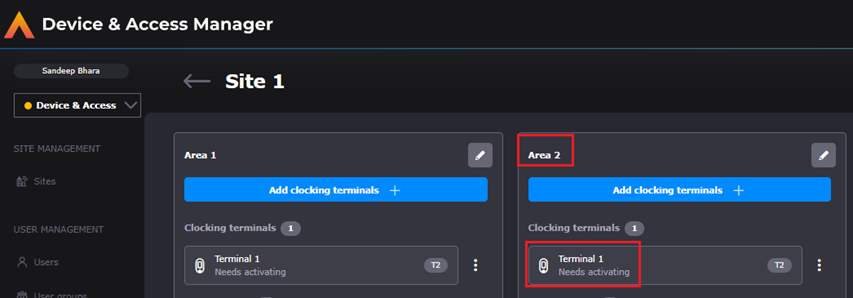
To add the same Terminal to another Area in the same Site, create an Area and Terminal. In this instance, Area 2 has been created within same Site and Terminal 1, within Area 2.
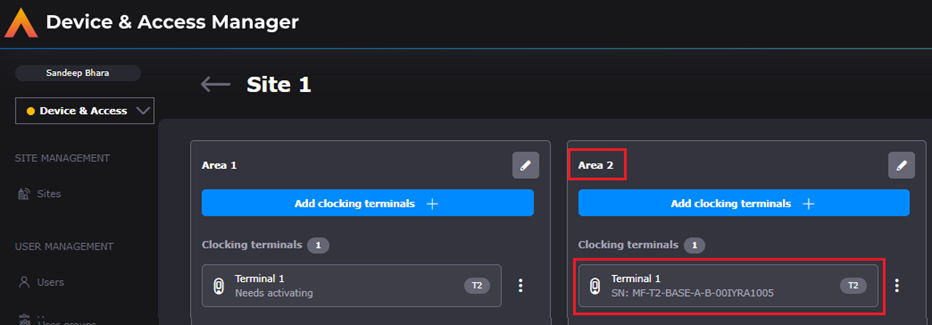
In order to activate Terminal 1 in Area 2, follow 'Activating a Terminal' from this guide. Once the Terminal has finished it’s setup process. Terminal 1 in Area 2 will show as being active (by showing the serial number under the Terminal name).
Allocating Terminal to a different Site
To have the same Terminal active in another site, the process to follow will be the same. The device will need to be deactivated from it’s current location. A new site added, new Area and new Terminal added. The device will need to be activated in the new Site.
Terminal 1 deactivated in Area 2 at Site 1
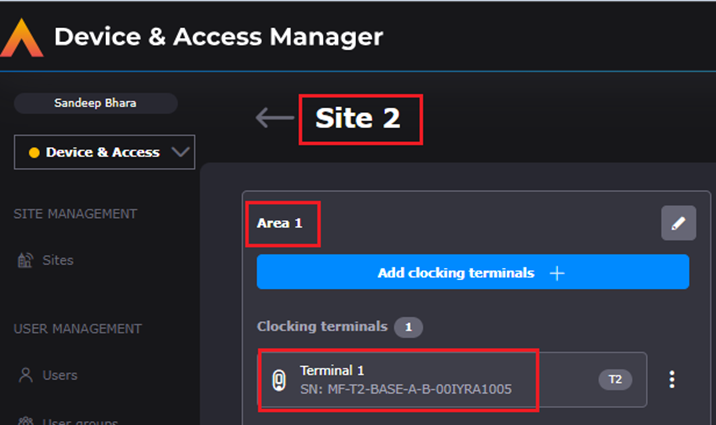
Terminal 1 now activated in Area 1 at Site 2