Device and Access Manager
Terminal settings
Terminal settings
Terminal Overview
Engineer PIN
Firmware settings
Device Settings
Fingerprint settings
Faceprint Settings
Proximity Device Settings
Device status
Sites
Areas
Managing Terminals
Users
Tools
System Settings
User Groups Feature Overview and Setup
Clocking Analysis Feature
Moving a Terminal
Device Status Email Alerts
Smart Biometric Clock (T2) Device
Smart Biometric Clock (T2) User Enrolment
Smart biometric clock (T2) User Onboarding Screens
Enrolling Users on the Smart biometric clock (T2) for Fingerprint recognition
Additional devices
Turnstiles
Fire Alarm Interface
Weigand readers
Weigand overview
Weigand portal configuration
Connecting a Weigand reader to the T2
Wiegand 36-bit
Wiegand Generic
Wiegand Hexadecimal
Wiegand Alphanumeric
Testing Weigand cards on the T2
Fire alarm interface documentation – Web Portal, Smart biometric clock (T2) Firmware and Hardware
Barcode Readers
Smart biometric clock (T2) Factsheet
Smart Biometric Clock Installation Guide Video
Smart biometric clock (T2) Installation Guide
Smart biometric clock (T2) network requirements
Third-party proximity readers
Smart biometric clock (T2) Offline Troubleshooting
Smart biometric clock (T2) UPS Solution
Smart biometric clock (T2) UPS User Guide
Mobile Clocking Feature
Upgrading Device Firmware
Issue affecting Smart biometric clocks on Thursday 9th October 2025
Portal release documentation
Portal Release notes - 5th November 2025
Portal Release notes - 17th September 2025
Portal Release notes - 30th July 2025
Portal Release notes - 4th June 2025
Portal Release notes - 30th April 2025
Portal Release notes - 26th March 2025
Portal Release notes - 26th February 2025
Portal Release notes - 29th January 2025
Portal Release notes - 6th November 2024
Portal Release notes - 2nd October 2024
Portal Release notes - 21st August 2024
Portal Release notes - 25th July 2024
Portal Release notes - 22nd May 2024
Portal Release notes - 20th March 2024
Portal Release notes - 28th February 2024
Portal Release notes - 31st January 2024
Portal Release notes - 15th November 2023
Portal Release Notes - 11th October 2023
Portal Release notes - 9th August 2023
Portal Release notes - 12th July 2023
Portal Release notes - 14th June 2023
Portal Release notes - 17th May 2023
Portal Release notes - 18th April 2023
Portal Release notes - 22nd March 2023
Portal Release notes - 27th February 2023
Activities
Activities Feature Overview - Web Portal & Smart biometric clock (T2) Firmware
Activities Setup for Device and Access Manager
Activities on Smart biometric clock (T2) Terminals
Firmware release documentation
Firmware Release 2.12.0 - 19th November 2025
Firmware Release 2.11.0 30th July 2025
Firmware Release 2.10.0 - 4th June 2025
Firmware Release 2.9.0 - 30th April 2025
Firmware release 2.8.0 - 26th March 2025
Firmware release 2.7.0 - 29th January 2025
Firmware Release 2.6.0 - 2nd October 2024
Firmware Release 2.4.2 - 12th July 2024
Firmware Release 2.4.1 - 27th June 2024
Firmware Release 2.3.1 - 9th May 2024
Firmware Release 2.3.0 - 16th April 2024
Firmware Release 2.2.1 - 29th January 2024
Firmware Release 1.9.0 - 18th January 2024
Firmware Release 1.8.5 - 9th August 2023
Firmware Release 1.8.4 - 5th April 2023
Firmware Release 1.8.3 - 28th February 2023
Compliance
Biometrics
Biometric Overview
Smart biometric clock (T2) Biometrics - Enabling/Disabling biometrics
Biometrics - Fingerprint Configuration
Biometric - Faceprint Configuration
Biometric - Accuracy and performance
Biometric Data Retention Policy
Biometric FAQS
MF & AC Hardware Range
Sites

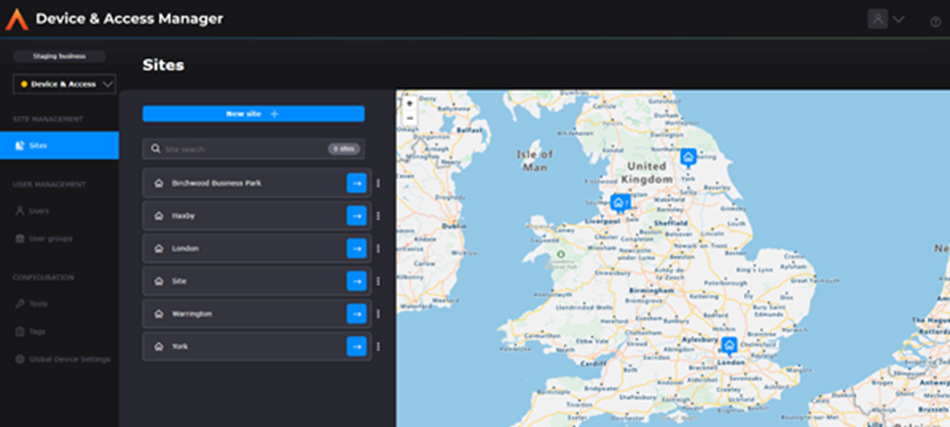
Sites
On the Sites page, you can create and manage your Sites. A Site is the highest-level view of your organisation and acts as the ‘parent’ of your individual clocking terminals and access control solutions for your business.
1.1 Site Navigation
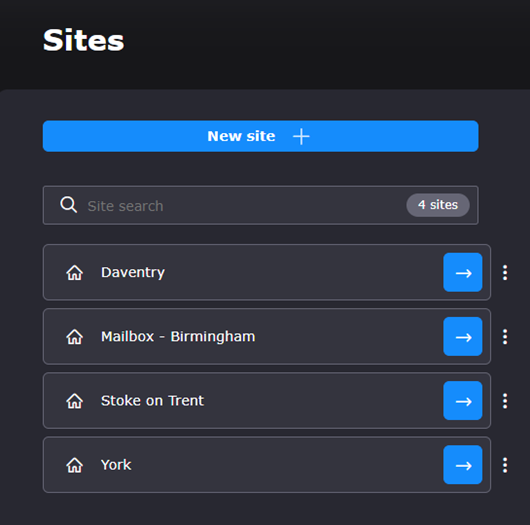
On the left-hand side of the Sites page, you will see a list of your currently available Sites. Each Site that was added using the postcode finder will also be represented on the global map on the right-hand side of the page by an icon. Hovering over a Site’s icon on the map will display the name of that Site.
The Sites will be organised in alphabetical order, but you can also use the Search bar to filter your Sites – click the search bar and type your Site’s name to filter out the others.
Each Site in the left-hand side list can be managed from this page, allowing you to View, Edit or Delete them. Click the kebab menu (three vertical dots) to the right of the Site to open the menu:
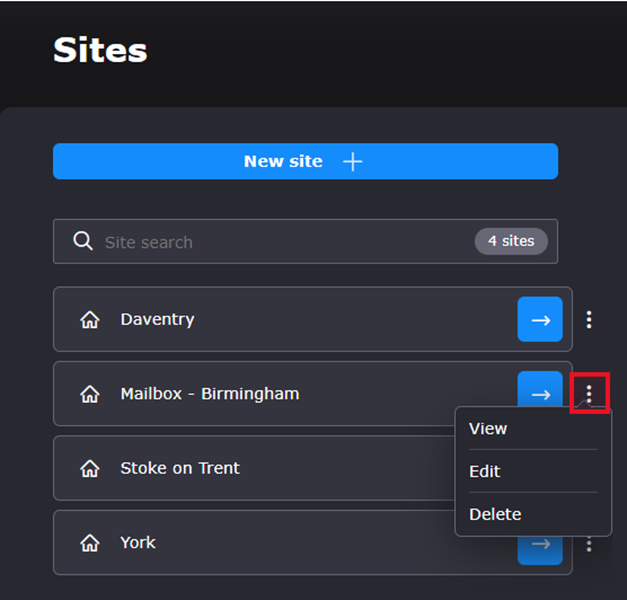
Viewing a Site will take you to the Areas page for that Site (you can also click the blue arrow to quickly get to this screen), while edit lets you change the name, address and telephone number for the Site. Delete allows you to remove the Site (and all associated Areas and Devices) from Device and Access Manager.
1.2 Adding a new Site
You can add a new Site by clicking the new site button at the top of the Sites page.
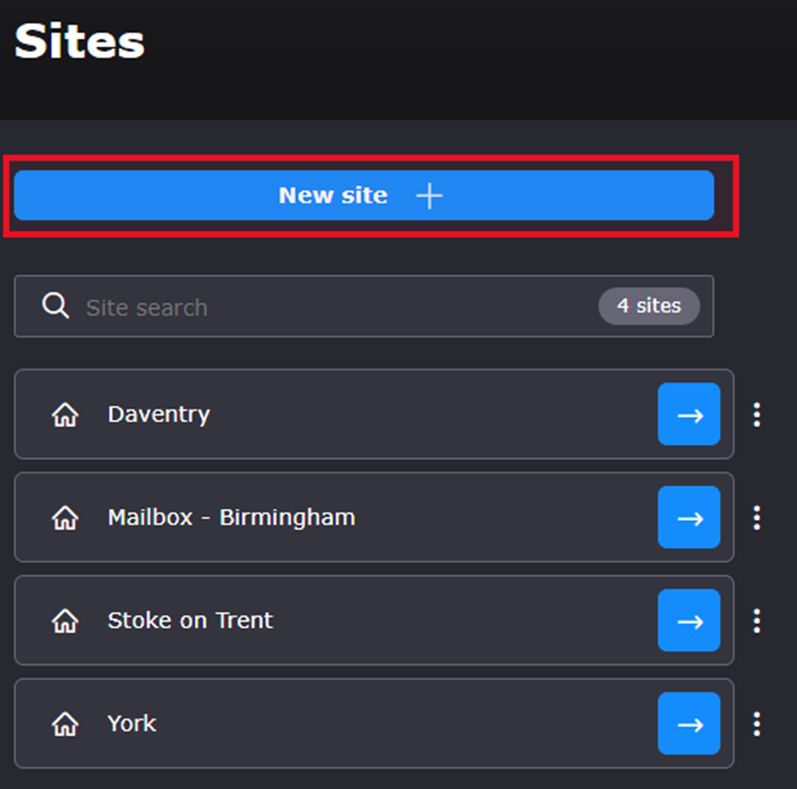
This will open the Add new site page. Enter the new Site’s details:
· Site name
· Address – this will be used to locate the Site on the map. Enter the site’s postcode and use the Find address button to choose the address or click enter address manually to manually enter the Site’s address.
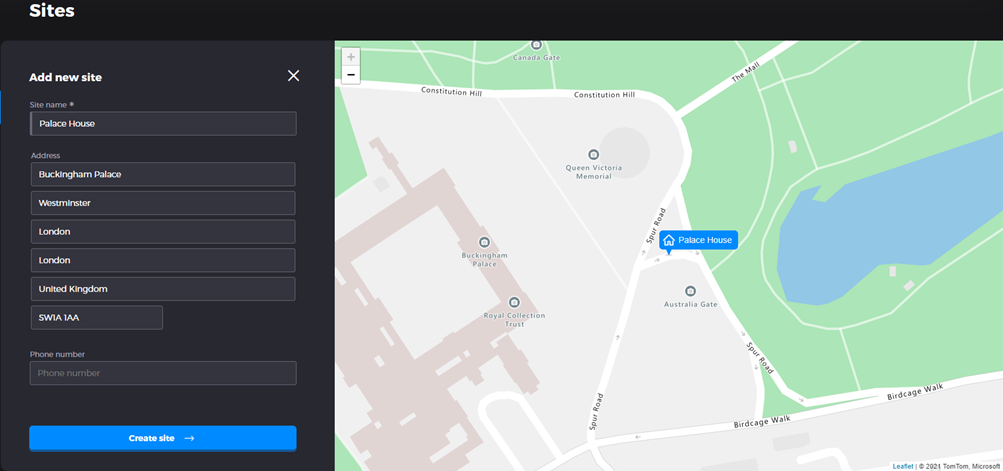
Once you have entered all of the details, click Create site. The Site will now appear in the Site list.
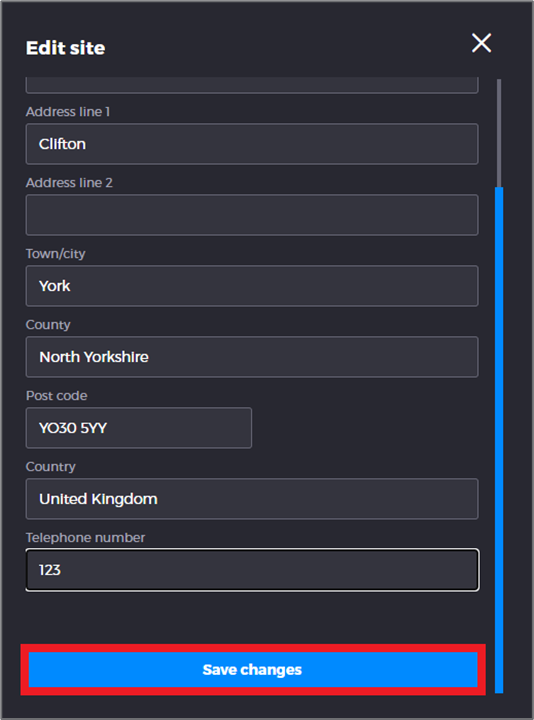
1.2 Editing Sites
Sites can be managed from this page by clicking the Edit button in the kebab menu.
You can edit several pieces of information on the Edit site page:
· Site name – the name of your Site
· Site address – the address of your site (which will be used to place it onto the map in the Sites screen)
If you make any changes on this screen, ensure that you click the Save changes button. If you navigate away from the page, your changes will not be saved (Device and Access Manager will notify you of this).
You can also delete a Site by clicking the Delete site button in the Site's kebab menu. A confirmation box will appear to confirm deletion:
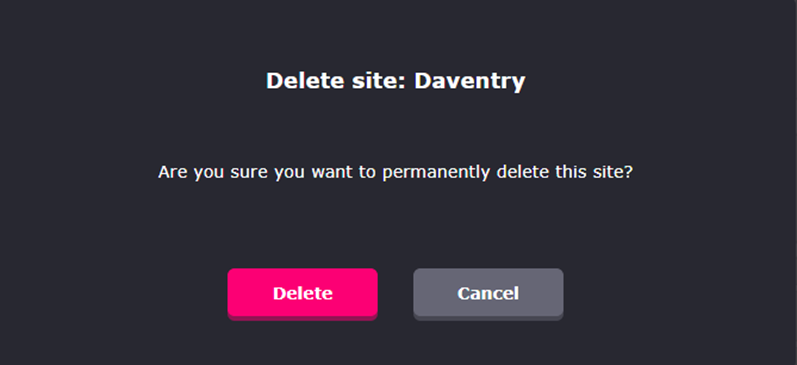
Note: You can only delete a Site if it has no Devices assigned to it.